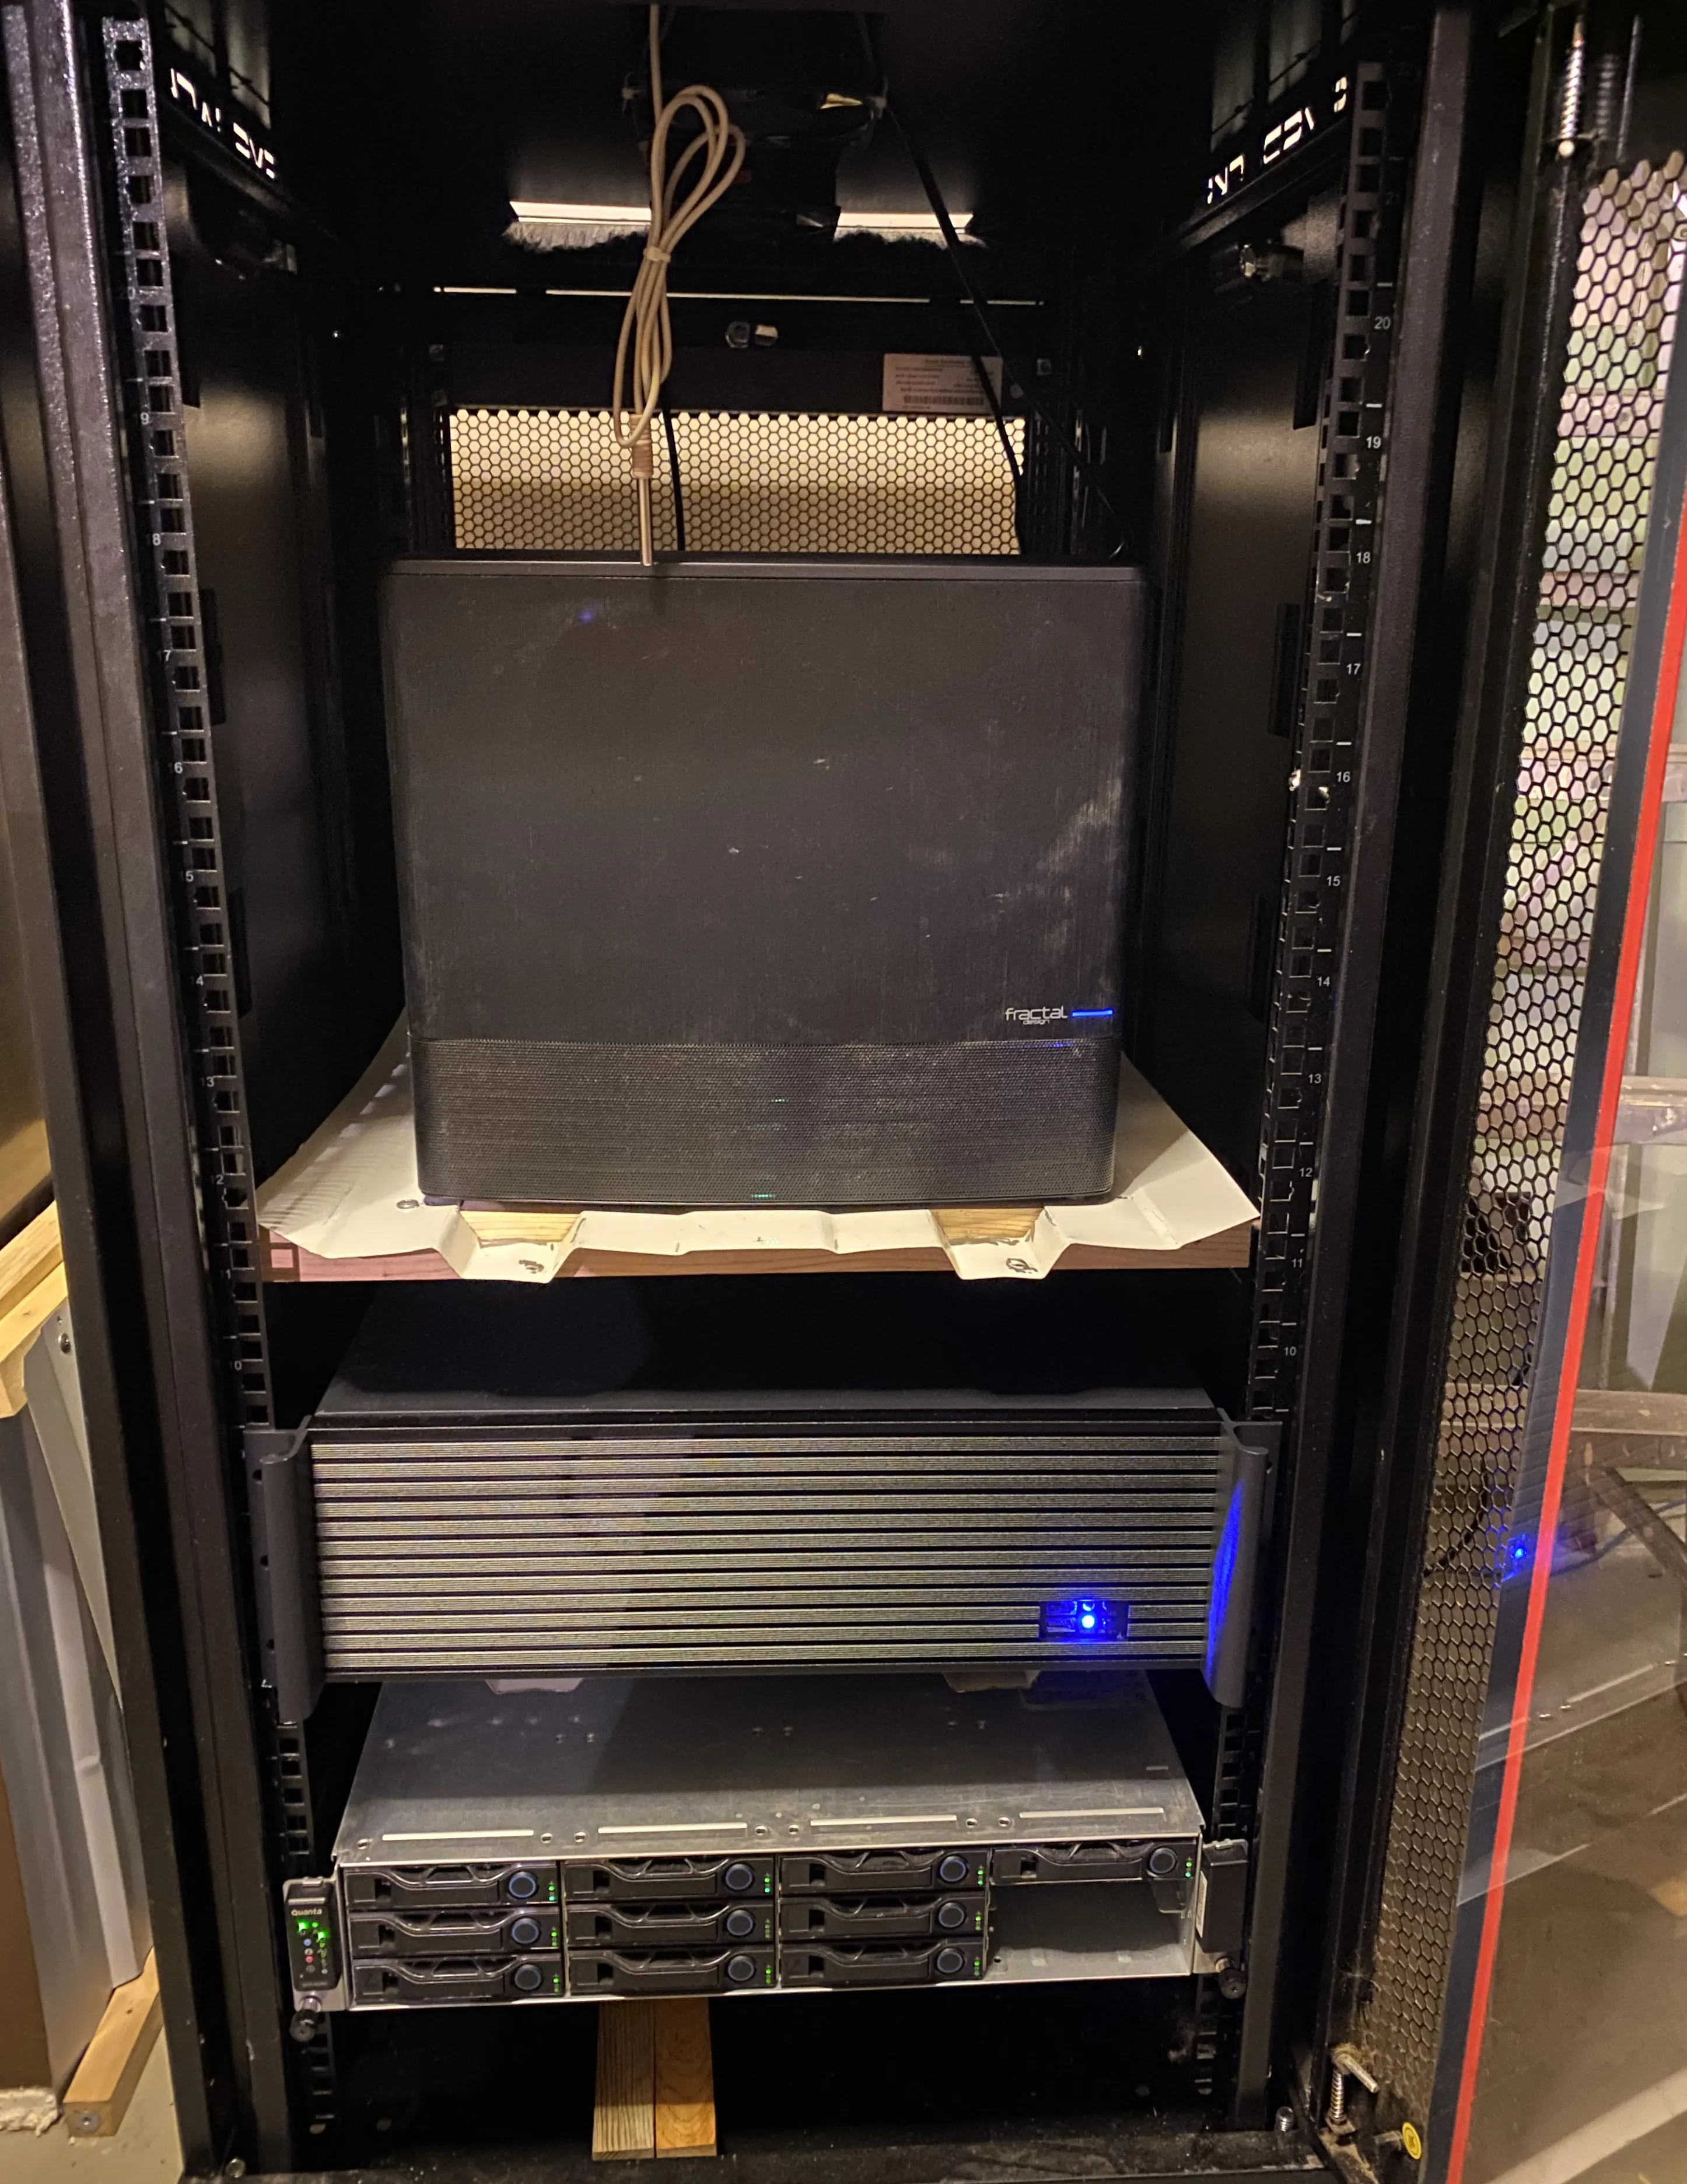
 The server rack. Roast my setup in the comments
I started this homelab all the way back when I was in high school. My home lab and gaming PC were one, and I’d just leave it on 24/7 and have it heat up my room.
I’ve been building and expanding my home lab over time, repurposing old hardware and refining my setup to meet my needs. In this post, I’ll walk through my current infrastructure, starting from the hardware layer up to the software and services running on top of it.
Table of contents
Open Table of contents
Hardware Overview
Currently, my home lab consists of three physical servers, each serving different purposes.
1. Storage Server - The Vault
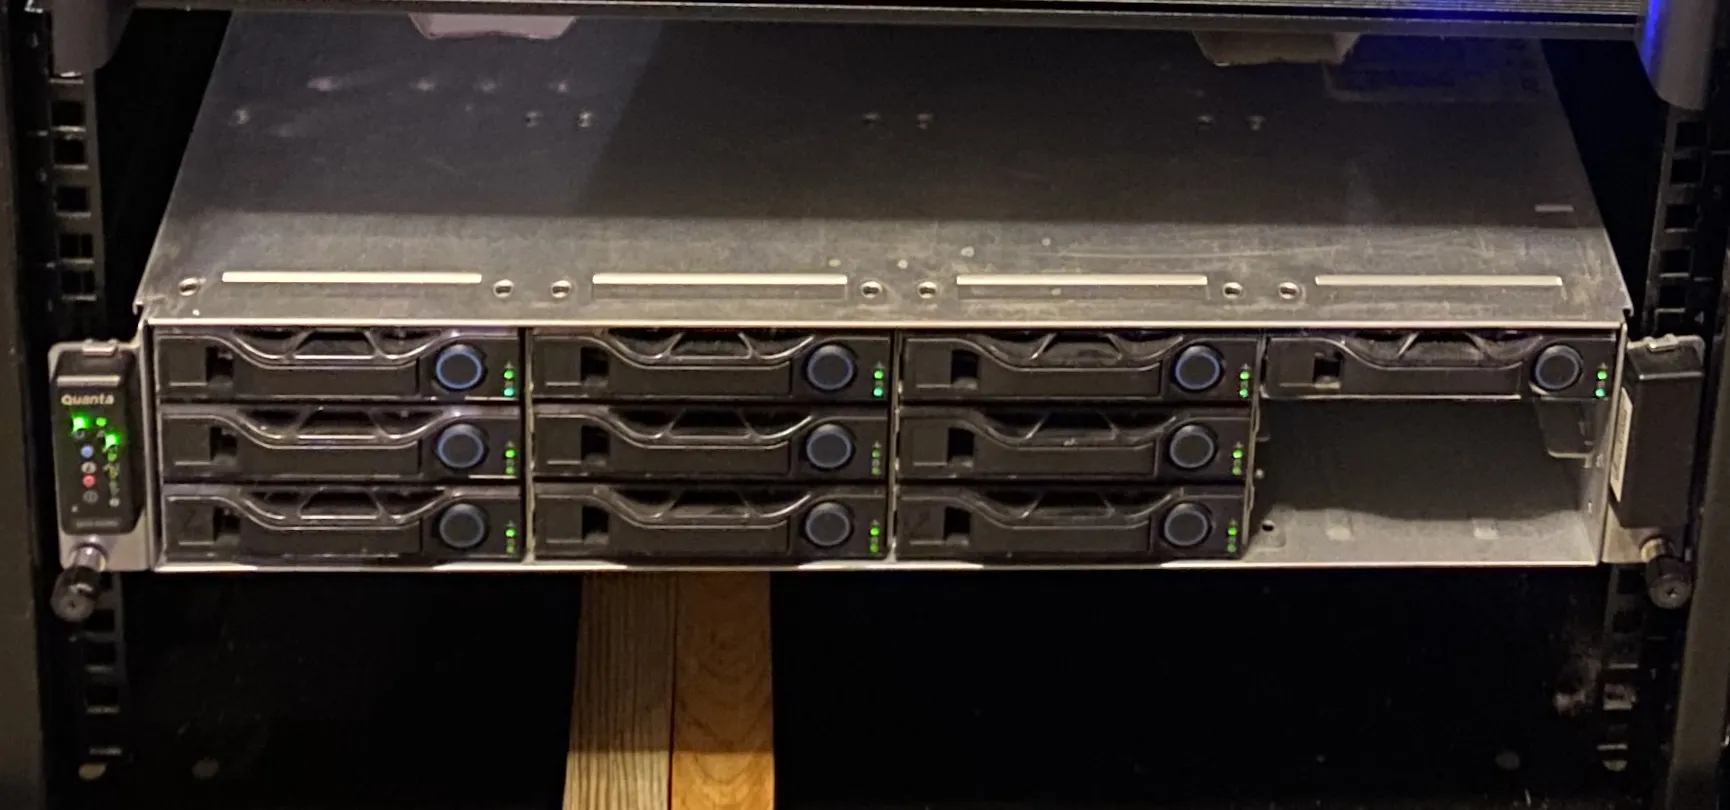
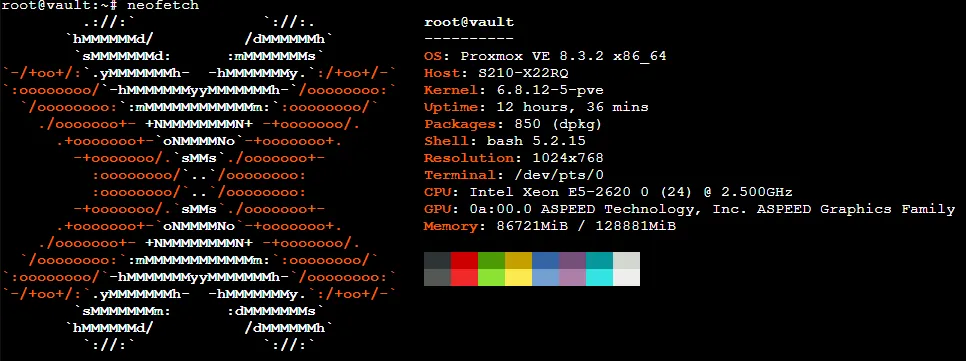 The backbone of my home lab is an old Quanta server from around 2012. This machine can hold up to 12 hard drives, and right now, it’s nearly maxed out—I have 10 drives installed. This server handles all storage for my home lab, with around 40-50TB of usable space.
- Base OS: Proxmox
- Virtualized Storage: TrueNAS SCALE running in a VM
- TrueNAS Apps:
- Diskover - Filesystem monitoring for when I run out of space (happens a lot)
- QBittorrent - Get the latest Linux distros from decentralized sources
- SabNZBd - Get the latest news extra fast
2. The Media Server - Gaming PC Guts
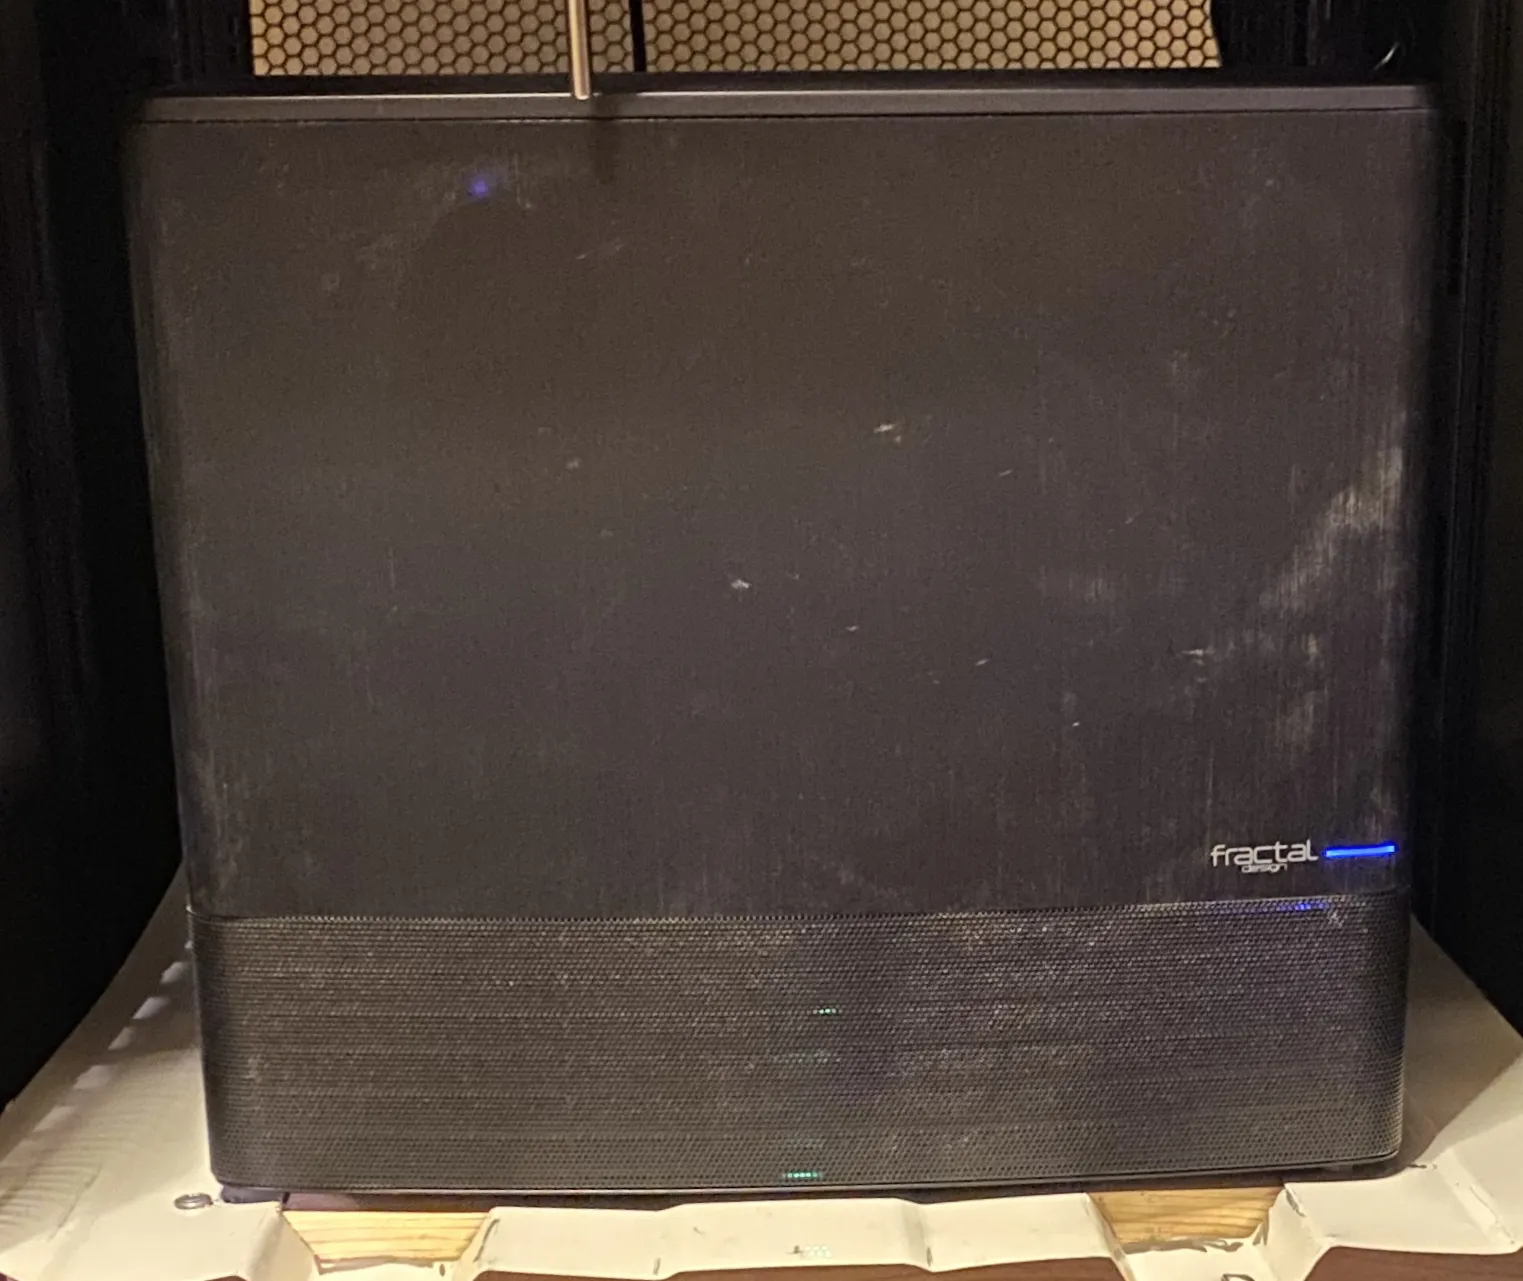
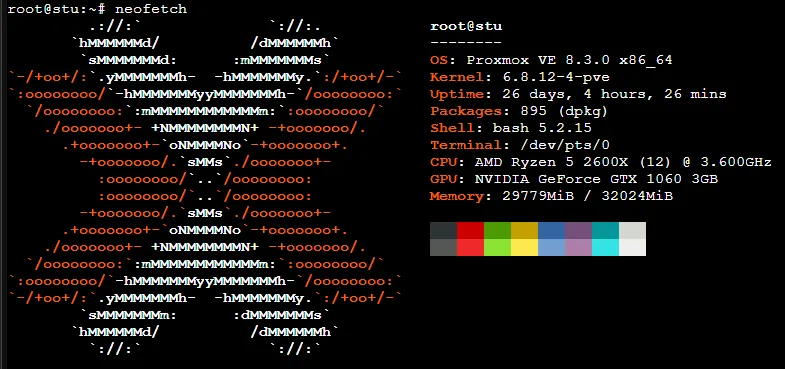 This server is built from leftover parts from my previous gaming PCs. Whenever I upgrade my main rig, I repurpose the old parts into my home lab. This machine includes a GTX 1060 GPU, which is still capable of handling video transcoding, so I’m keeping it as-is.
- Base OS: Proxmox
- Main Services (Ubuntu Server VM, Docker-based):
- Emby & Jellyfin - Running simultaneously for media streaming
- Auto Scan - Ensuring my media library stays up-to-date
- GPU-Powered Transcoding - Optimizing playback for remote streaming
- Nginx Proxy Manager (LXC Container) - Simple and easy to use reverse proxy
3. The Utility Server - New Guy

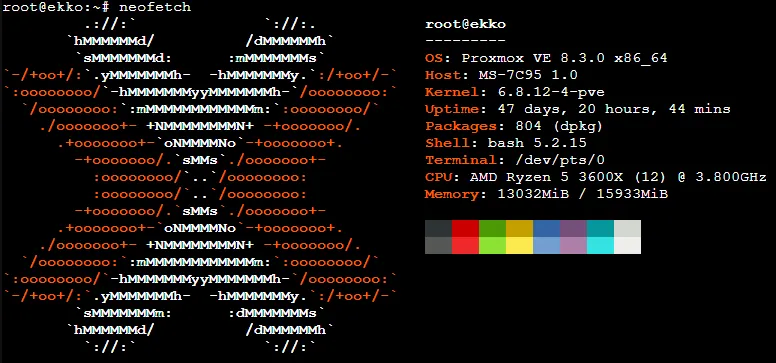 This is my most recent build, also made from spare gaming PC parts. I initially wanted to include a GPU, but the case didn’t allow for it, so I left it out. This server runs several lightweight but essential services, all containerized within LXC environments.
- Base OS: Proxmox
- LXC Containers & Dockerized Services:
- Personal Cloud (LXC + Docker + NFS)
- Nextcloud AIO - Managing my personal cloud storage
- Immich - Archiving and organizing my photos
- Remote Access (LXC)
- Tailscale Node - Secure VPN access to my network from anywhere
- Critical Infrastructure (LXC + Docker + NFS)
- Uptime Kuma - Uptime monitoring for all my services
- Flame Dashboard - Simple homelab dashboard
- Media Automation (LXC + Docker + NFS)
- Arr Stack, Jellyseerr - Automating media downloads and requests
- Side Project Hosting (LXC + Docker)
- Coolify Node - Node that runs services I’ve deployed via Coolify
- Personal Cloud (LXC + Docker + NFS)
Cloud: Oracle Cloud Free Tier
In addition to my home setup, I also have a free-tier ARM server in Oracle Cloud. This server is running Coolify, and it’s actually integrated with the Coolify node on my local utility server.
How I Use It:
- CI/CD Deployment: I point it to a GitHub repo, and whenever I push changes, it automatically deploys updates to my projects.
- Remote Hosting: Offloading some workloads from my home network to the cloud.
My Deployment Strategy: Docker Compose
Wow that’s a lot of shit running, how do you deploy all that and keep track of it?!?
The key is Docker Compose. Over the years, I’ve found a deployment “format” that I like to keep all of my services in, and I’ve laid it out in a list of rules.
docker/
├─ service1/
│  ├─ config/
│  ├─ data/
│  ├─ compose.yml
├─ service2/
   ├─ config/
   ├─ compose.yml
- Services are deployed using docker
- No crazy long “Getting started” docs required
- Write your own
Dockerfileif you have to
- All persistent data must be stored under
/docker/<service>/*- Read-only data outside of this folder is fine (e.g.
/etc/localtime:ro) - If data is needed outside of this folder, use symbolic links
- Read-only data outside of this folder is fine (e.g.
- Every service must have a
compose.ymlthat includes EVERYTHING that is needed to deploy- There should be no references outside of the
/docker/<service>folder. (Use symbolic links if needed!)
- There should be no references outside of the
With these rules applied, whenever I need to redeploy a service, all I have to do is cd into the service folder, and run docker compose up -d, and I can go about my business.
Services List
Here’s a nice categorized list of the services I’m running in my homelab
Core Infrastructure
- Proxmox (Hypervisor on all servers)
- TrueNAS SCALE (Virtualized, managing ~40-50TB storage)
- Nginx Proxy Manager (Reverse proxy, LXC container)
- Tailscale (VPN for remote access)
- Watchtower (Container auto-updates)
Media & Streaming
- Emby (Media streaming)
- Jellyfin (Media streaming)
- Auto Scan (Media library updates (no longer maintained 😢))
- Arr Stack (Media automation)
- Jellyseerr (Media request management)
Cloud & Backup
- Nextcloud AIO (Personal cloud storage)
- Immich (Photo and video backup)
Infrastructure Monitoring & Management
- Uptime Kuma (Uptime monitoring)
- Flame Dashboard (Homelab Dashboard)
- Diskover (Filesystem monitoring)
Side Projects
- Coolify (Self-hosted platform for app deployments)
Final Thoughts
My home lab is a constantly evolving project, built from spare parts and open-source software. From media streaming to personal cloud services, automation, and self-hosted side projects, it’s become an indispensable part of my tech ecosystem.
I’ll be diving deeper into specific parts of my setup in future posts—stay tuned!